SSH Must Know Tricks!
Recently I’ve been fiddling around with remote servers and using them to access remote GPUs for my obvious Deep Learning needs. This blog deals with some neat tricks in SSH that I feel all software devs should be pretty comfortable with.
-
Data Scientists and many Machine Learning researchers/engineers tend to use a lot of Jupyter Notebooks for their work in Python. The problem of running code in the form of a jupyter notebook on a remote server, and accessing the results on the local machine browser using SSH Tunneling is really confusing for beginners.
-
When transfering files to and fro from the server to your local machine. You need some simple interface to speed up this process. I’ll also cover one of the filesystem mounting for managing and keeping my files in sync on server and local.
What is SSH?
SSH or SecureShell, in simple words is a secure way to access the shell of a remote machine. When connecting to a remote server, one needs to authenticate their identity. This can be done simply by Using a Password.
Suppose you have some remote machine setup at the IP 70.32.86.175
Now to access this machine using SSH:
ssh gollum@70.32.86.175
## <username> is gollum
You will now be prompted to enter your password.
Ps. You may also configure ssh to login using public and private keys. Anyways authentication method is irrelevant as long as one can login and access the remote server.
Hit Enter and you are in.

What is SSH Tunneling?

SSH tunneling (also called SSH port forwarding) is a method of transporting arbitrary networking data over an encrypted SSH connection. It can be used to add encryption to legacy applications. It can also be used to implement VPNs (Virtual Private Networks) and access intranet services across firewalls. This means that the application data traffic is directed to flow inside an encrypted SSH connection so that it cannot be intercepted while it is in transit.
Example
ssh -L localhost:16005:localhost:6005 gollum@70.32.86.175For those not familiar, we’ve just created a secure, encrypted connection between port 16005 on our local machine and port 6005 on our remote server.
Some neat options:
-
-L specifies that we’ll be forwarding a local port to a remote address and port. In this case, we’re forwarding port 16005 on our machine to port 6005 on the remote server. The name ‘localhost’ just means ‘this computer’.
-
-N tells ssh we won’t be running any remote processes using the connection. This is useful for situations where all we want to do is port forwarding.
-
-f runs ssh in the background, so we don’t need to keep a terminal session running just for the tunnel.
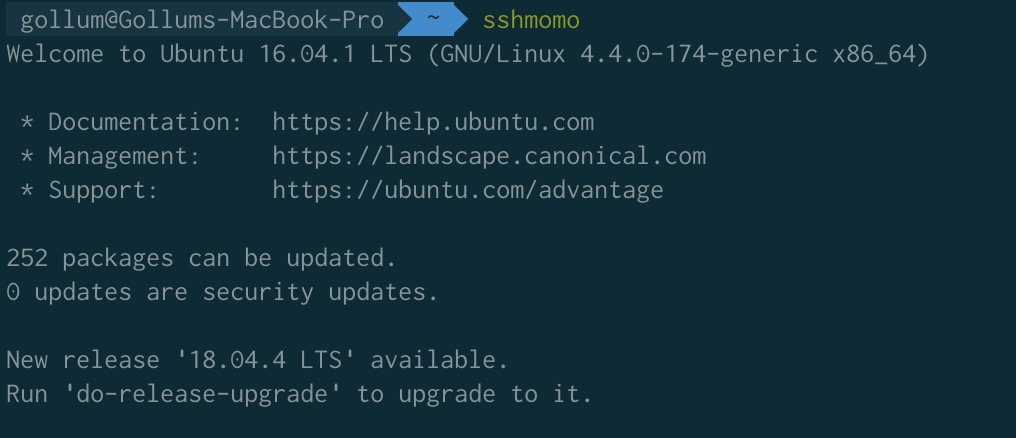
I like to add alias to my zshrc file to speedup the process, always forwarding the ports whenever I ssh into a remote server, like so:
alias sshpeda="ssh -L localhost:16006:localhost:6006 anirudh@peda.cds.iisc.ac.in"Now just run the jupyter notebook command on your remote machine.
jupyter notebook --port=6006 --no-browser

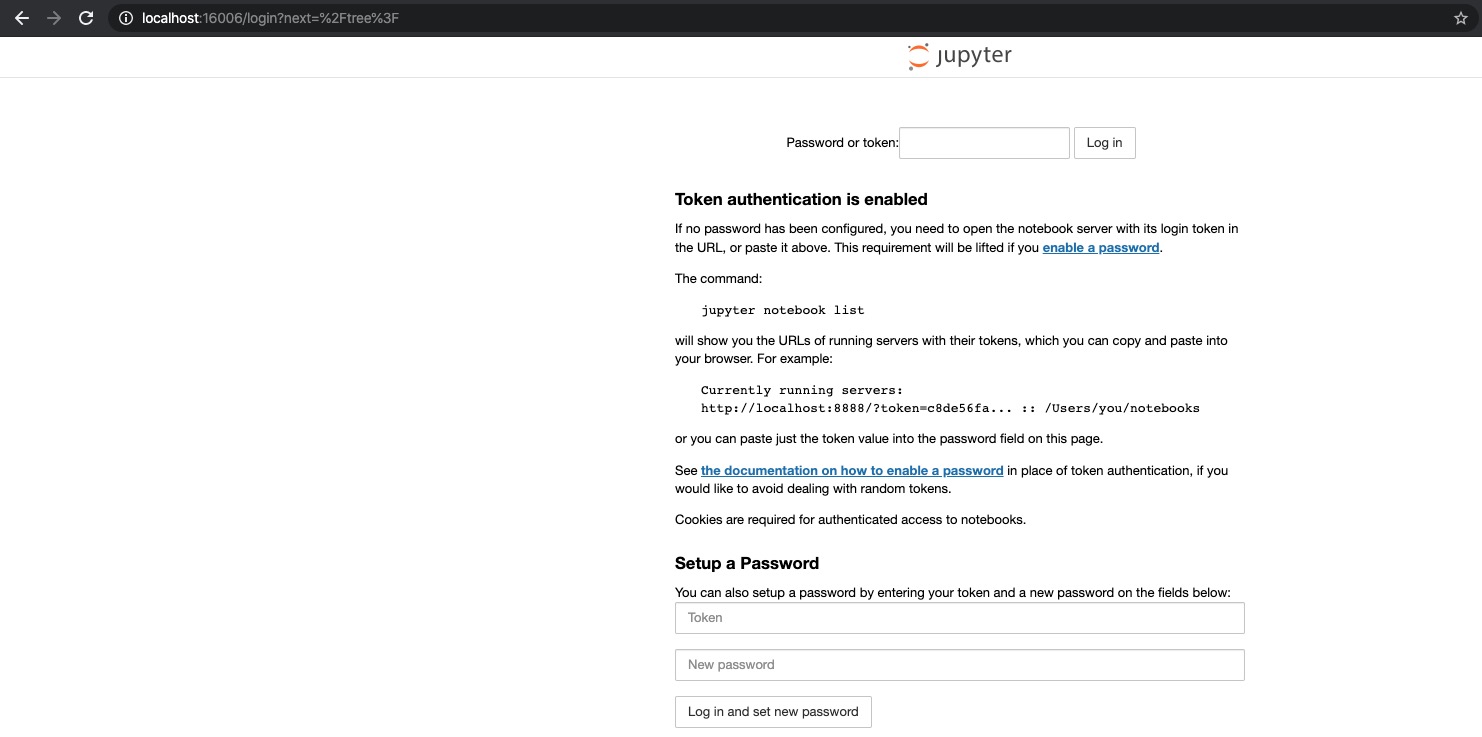
If you’ve done everything correctly, you should now be able to access your Jupyter session via port 16006 on your machine. Fire up your favourite browser and type localhost:16006 into the address bar. This should bring up a Jupyter session and prompt you for a password. Enter the password you specified for Jupyter on the remote server.

Mounting Remote Linux Filesystem Using SSHFS Over SSH
SSHFS stands for (Secure SHell FileSystem) client that enable us to mount remote filesystem and interact with remote directories and files on a local machine using SSH File Transfer Protocol (SFTP).
Step 1: Create the mount point directory.
mkdir -p /Users/gollum/Desktop/Work/mountStep 2: Use sshfs.
sshfs anirudh@peda.cds.iisc.ac.in:/scratche/ /Users/gollum/Desktop/Work/mount -ovolname=pedaThis links the directory in the remote machine needed to be mounted(here: /scratche/) to the directory on your local machine where it needs to be mounted(here: /Users/gollum/Desktop/Work/mount).
Again, I usually add alias to my zshrc file for some common dirs I frequently mount, like so:
alias mntpeda="sshfs anirudh@peda.cds.iisc.ac.in:/scratche/ /Users/gollum/Desktop/Work/mount -ovolname=peda"