Internals: TMVA PyTorch Interface
Structural working of the TMVA PyTorch Interface
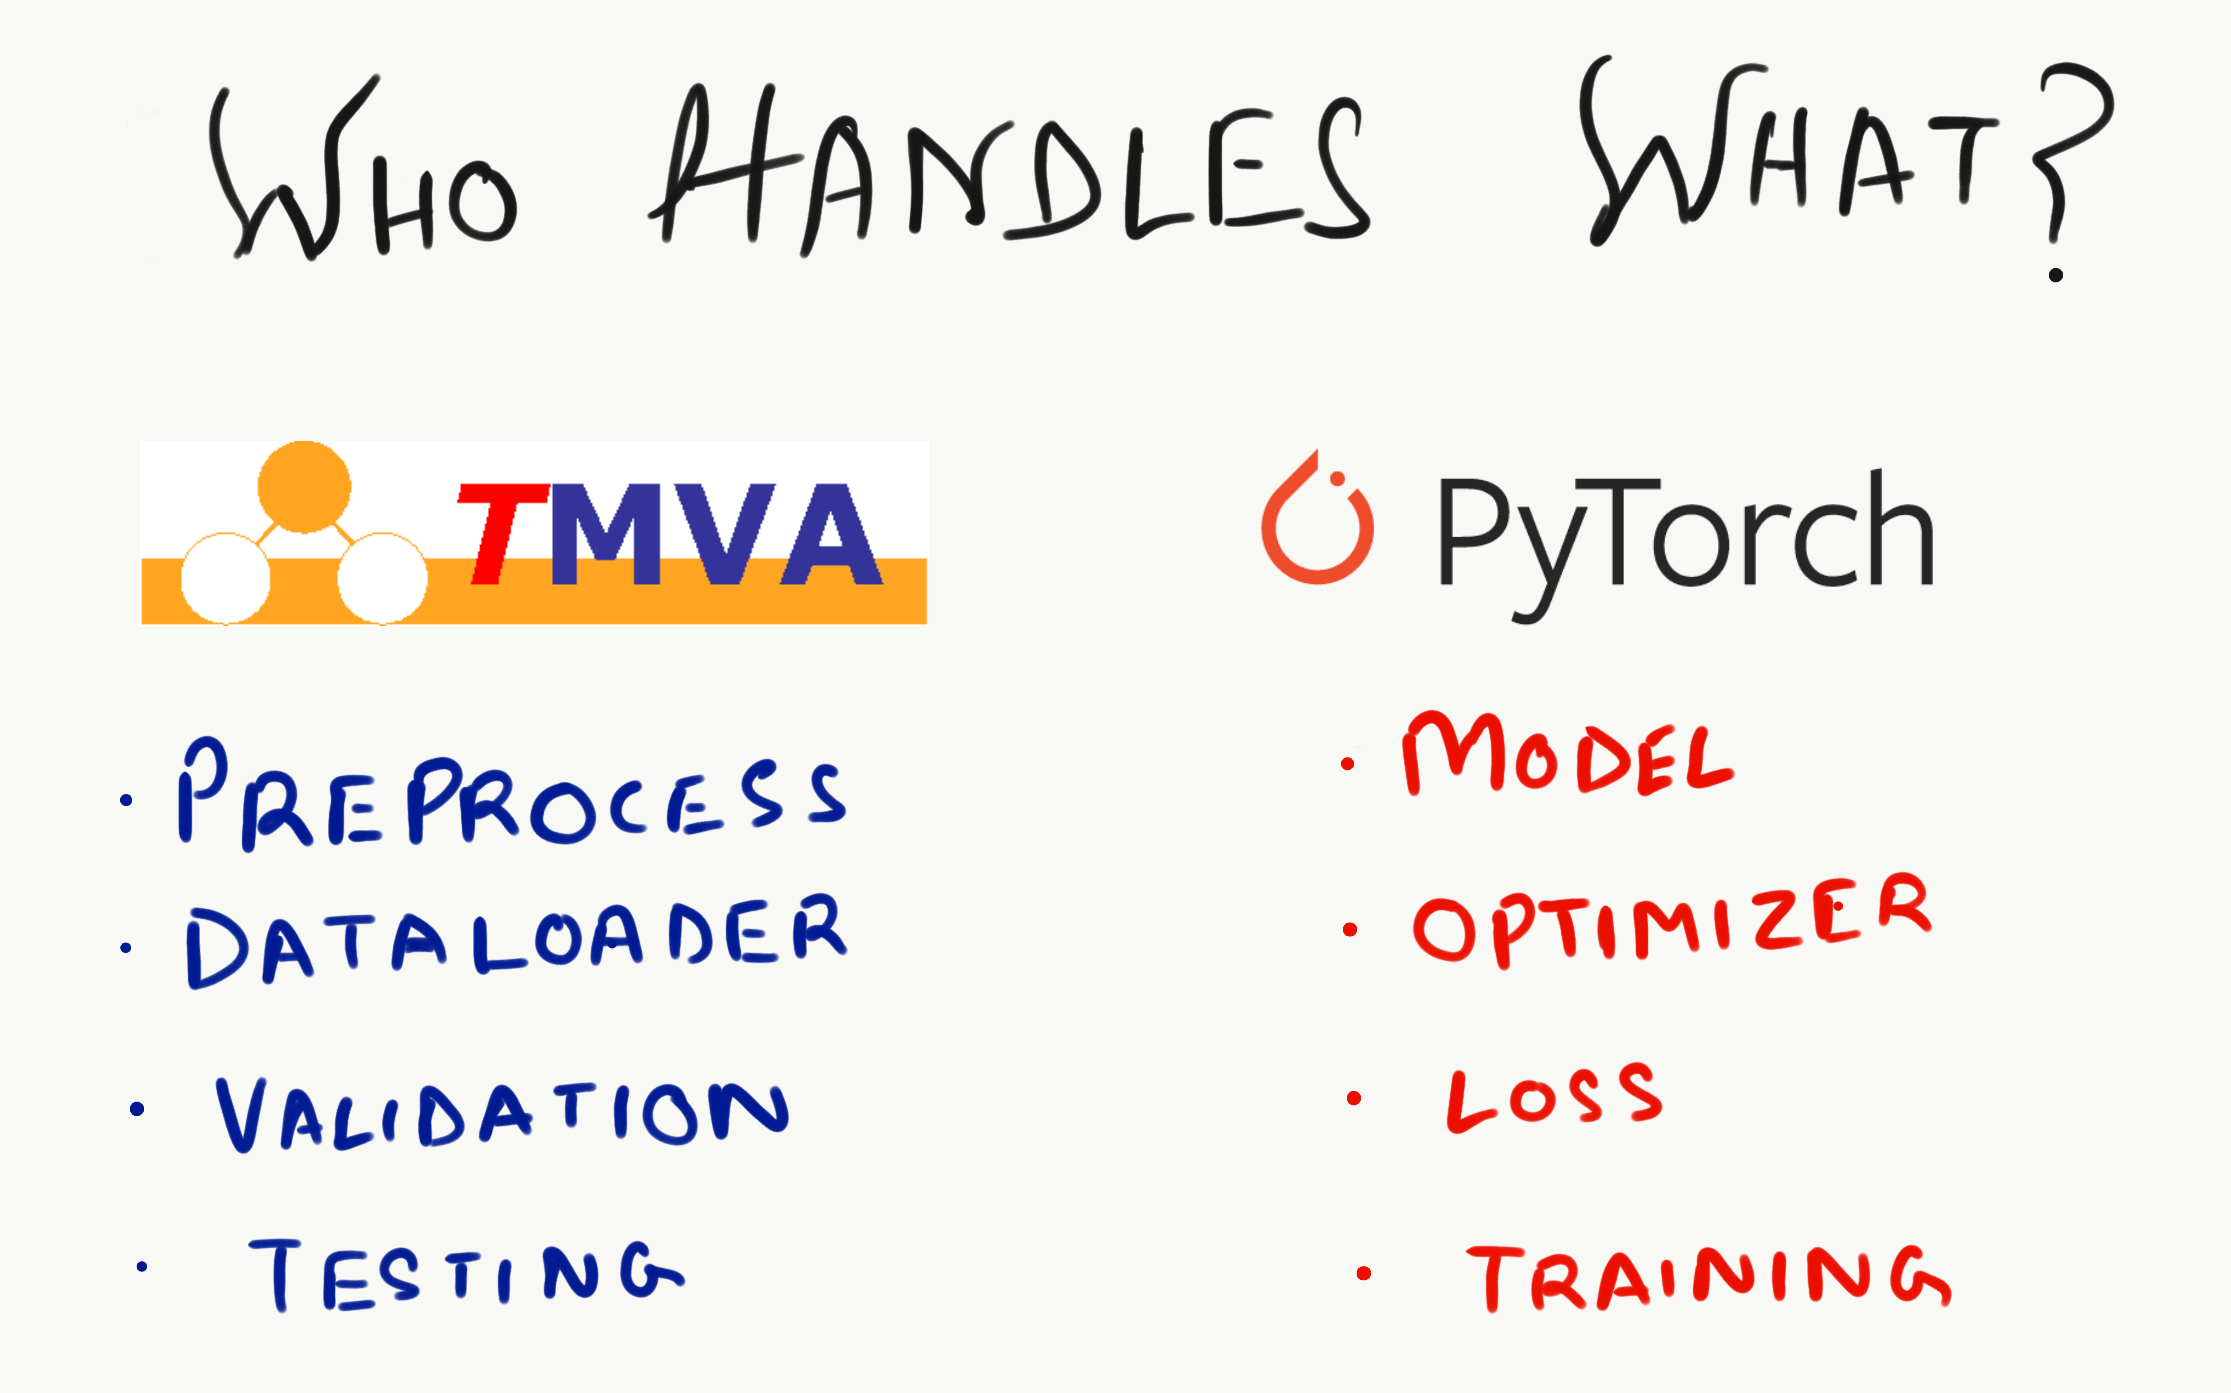
This post is intended to focus on the internals of the TMVA PyTorch interface and I’ll be discussing the details and design choices made. As can be seen in the figure above, the workforce for various tasks is divided clearly between the two frameworks. We define the model, optimizer, loss criterion and the training/prediction loop within PyTorch. On the other hand TMVA handles all the preprocessing, Dataloading, validation and evaluation.
Tip: You may want to refer to the source code for TMVA PyTorch Interface while following this blog.
DeclareOptions
We provide a few useful options to the user for deciding the necessary and optional arguments. These involve the information required for training a pytorch model.
void MethodPyTorch::DeclareOptions() {
	/*
	 * fFilenameModel : Filename of the initial PyTorch model");

	 * fFilenameTrainedModel : Filename of the trained output PyTorch model");

	 * fBatchSize : Training batch size

	 * fNumEpochs : Number of training epochs

	 * fContinueTraining : Load weights from previous training

	 * fSaveBestOnly : Store only weights with smallest validation loss

	 * fLearningRateSchedule : Set new learning rate at specific epochs
	                           e.g., \"50,0.01;70,0.005\""

	 * fNumValidationString : Part of the training data to use for validation."
                    Specify as 0.2 or 20% to use a fifth of the data set as validation set
                    Specify as 100 to use exactly 100 events. (Default: 20%)

	 * fUserCodeName : Necessary python code provided by the user to be executed
     				   before loading and training the PyTorch Model

	 */
}
SetupTorchModel
Here we set-up the pytorch specific code by utilizing the user code from the dictionary load_model_custom_objects and load the saved model from the .pt file. We initialize these function objects which will be required later during prediction and training.
void MethodPyTorch::SetupTorchModel(bool loadTrainedModel) {
	// Load initial model or already trained model

	/* Execute user code

	* Load pytorch model from file

	* Load pytorch user code function objects
	         * Optimizer
	         * Loss Criterion
	         * Train Method
	         * Predict Method

	* load_model_custom_objects = {"optimizer": optimizer, "criterion":
	                criterion, "train_func": fit, "predict_func": predict}

	* Initialize variables and weights

	*/
}
Train
Here we prepare the training process starting with loading the training data into numpy arrays and building the PyTorch Dataloader from these arrays. GetAnalysisType() provides us with the type of analysis which is used to fill targets.
For Example:
if GetAnalysisType() == Types::kClassification || GetAnalysisType() == Types::kMulticlass, then, convert class number to one-hot vectors.
Once the training and validation dataloaders are ready, we proceed towards setting up optional training tricks like the learning rate scheduler or the option to save best model.
Now the train_func defined in the load_model_custom_objects dictionary is used to invoke the function call and initiate the training process.
The trained model is returned and is saved if and only if the save best model option is switched off because we do not want to override the best model checkpoint by saving again.
Finally, all the memory is freed by deleting the defined data arrays.
 void MethodPyTorch::Train() {

	/* Setup parameters

	* Setup Dataloader and conversion to torch DataLoader

	* Setup training callbacks like keras

	* Store trained model to file (only if option 'SaveBestOnly' is NOT activated,
	  as we do not want to override the best model checkpoint)

	* Load PyTorch (torchscript) model from checkpoint .tar file or .pt/.pth file
	  Load initial model or already trained model

	* Start model training

	*/

}
These were the 3 main methods required for training a pytorch model leveraging the PyMVA Interface.
Methods to call the predict_func and carry on evaluation are also implemented within the interface, but for the sake of simplicity we’ll skip them from this post. One can take a look at the source code to get a better understanding of how these work.